Installing tiles is a complicated task that requires a good amount of time and effort. There are so many factors to consider to ensure that you don’t damage the surface or install them incorrectly. Even the smallest mistake might lead to costly repercussions, especially if we want to install tiles on drywall.
Can I install tiles on drywall? You can install tiles on the drywall and this is very popular when installing a kitchen backsplash. In bathrooms, tiles are also installed on drywall, but concrete boards are used more often in these places. It is recommended mainly in places where the water meets the tiles directly, such as the shower or bath area.
In most cases, installing tiles on drywall or sheetrock is very much possible. While the task may be fairly straightforward when it comes to tilling the backsplash in a kitchen, it becomes quite complicated in areas that regularly see high amounts of moisture. In bathrooms, for instance, it is recommended that you use concrete board instead.
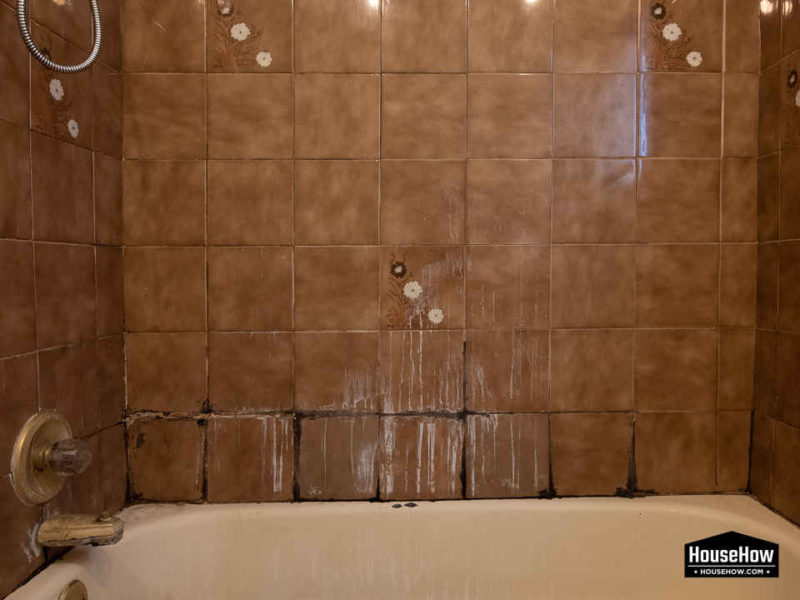
Installing tiles on drywall is one task that requires a good amount of prep work to ensure that things go as smoothly as possible and minimize any potential issues. There are various things to consider and certain processes to follow to make sure that all your effort won’t eventually go to waste. Let’s dive a bit deeper into the subject and take a look at the process, application and tools required to install tiles on drywall. If you want to learn more about installing tiles, you can find it by clicking on this link.
Ask on our forum
If you have any other questions that are not answered in this article, you can ask them on our Home Improvement Community Forum by clicking on this link.
An overview of installing tiles on drywall
There are a few basic steps you need to follow when it comes to properly tile over drywall.
- The first thing you need to make sure is that the drywall area is clean, dry and in good condition. If you need to remove the old tile, then there will be a fair amount of work to restore the sheetrock to a better state.
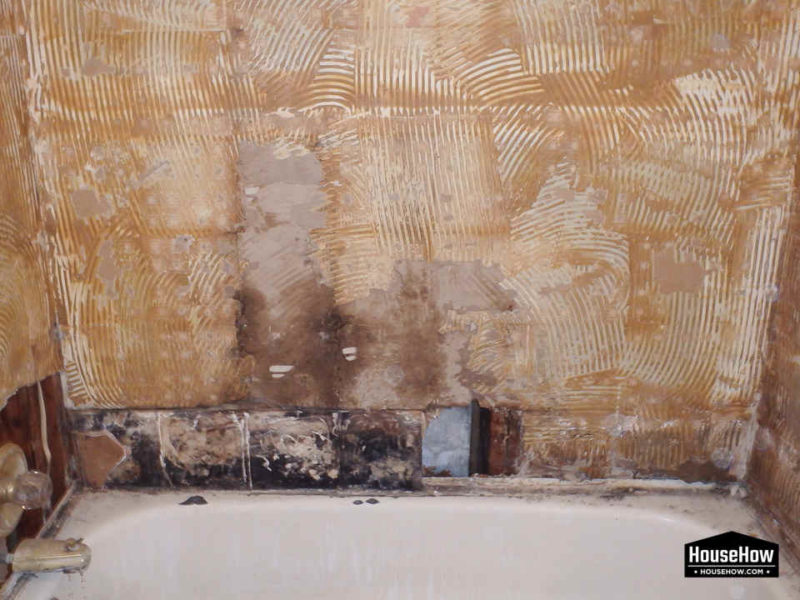
- Once you remove the old tile from the drywall, you will most probably damage the face of the sheetrock as certain areas will be torn off. Trying to do so without damaging it is an almost impossible task, so don’t worry if it gets damaged a little.
- To prepare the drywall, you will then have to scrape off any leftover mastic or adhesive and ensure that the surface is smooth and dry. Peel off any paper facing the sheetrock as they will cause issues when you start installing tiles.
- Once the surface is clean and free of any paper, then coat the drywall area with a joint compound or drywall mud. Make sure that you apply only a thin coat on the board. Then leave the area for some time until it dries.
- Once it is dry, some light sanding will be required to make the surface smooth and ready for installing tiles. When it is properly smooth, seal the drywall with a good quality sealer of your choice. Once the sealant has dried, you can start installing tiles on your drywall.
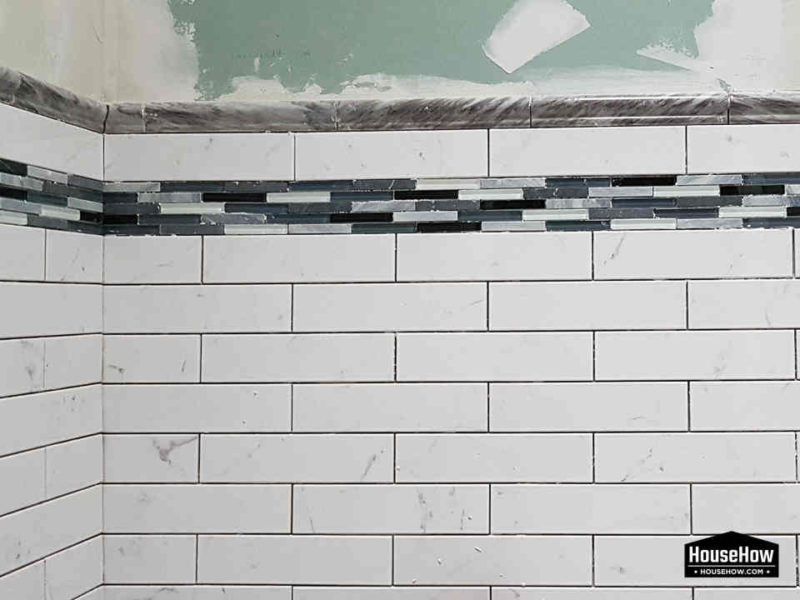
Different types of drywall or sheetrock
Drywall or sheetrock comes in many different forms. Here are some of them.
- White Sheetrock/White Board – This is the regular one that is white or gray on one side and brown on the other side. It is one of the most commonly used ones and is also very affordable. These also come in a wide variety of sizes making it highly accessible for DIYers.
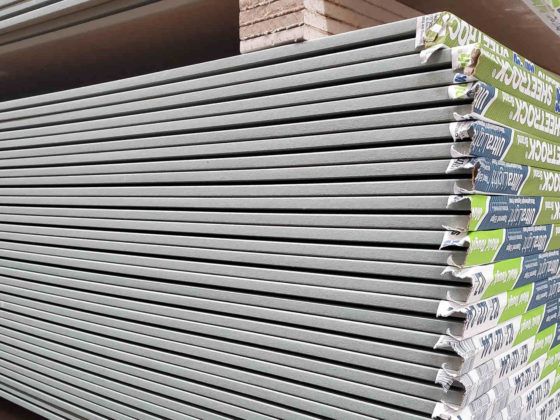
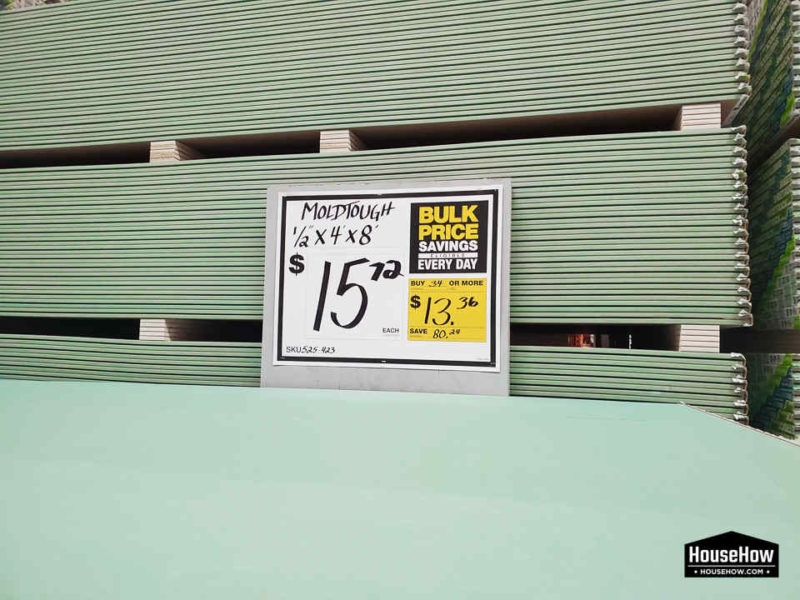
- Green Sheetrock/Green Board – These come with a green covering designed to make it more resistant to water. It is more expensive than regular drywall and although it isn’t waterproof, it can be used in places that see some water but not a lot of it such as select places in the bathroom or laundry rooms and kitchens.
- Blue Sheetrock/Blue Board – These are well known for their absorption qualities and provide a good amount of resistance to water and mold.
- Paperless Drywall/Yellow Board – This one uses fiberglass as a base material instead of paper and is a lot tougher than normal drywall. However, it is quite textured and not as smooth as other types but it does offer superior resistance to rot and mold. This type of sheetrock is mostly used on exterior walls.
- Type X Drywall – This type of drywall is resistant to fire and is ideal for use in garages, rooms and apartments. It can be layered on top of one another to increase thickness as well which will increase its ability to resist fire.
Choosing the right drywall mud
Drywall mud is mostly used in fresh installations to finish drywall joints and corners. However, they can also be used to fix cracks and small holes in the drywall. This makes it a very handy item to have especially if you need to install tiles on damaged drywall. The joint compound or drywall mud comes in four different types.
- All-Purpose Compound – This one comes pre-mixed in the form of buckets and is ideal for pretty much any type of application on the drywall. It’s excellent for use when it comes to texturing and skim coating too. It does take some time to dry though but it is incredibly easy to use and the best option for DIYers when it comes to tiling on drywall. There is also a lightweight version of the all-purpose compound which is significantly lighter than the standard one. As it contains less of the binding agent, it’s perfect for taping seams on the drywall.
- Taping Compound – As the name suggests, this type of drywall mud is best suited for the first phase of finishing drywall where you might have to embed a joint tape. It is different from the all-purpose one as it is significantly harder to sand and dries harder. However, if you need to cover any plastic cracks or a superior binding agent to make the drywall more resistant to cracks, this is the one to go for. At HomeDepot, it usually comes in buckets with a green lid.
- Topping Compound – Topping compounds are used after coating a taped drywall joint with a taping compound. One of its biggest advantages is that it helps to reduce the time taken for sanding drywall, especially when compared to the all-purpose compound. This one doesn’t come in a pre-mix form, however, and so will require you to mix it with water-based on your needs. Therefore it loses out a little when it comes to convenience. At HomeDepot, it usually comes in buckets with a blue lid.
- Quick Setting Compound – This one is referred to as “hot mud” and is the best type of joint compound to use if you want to finish the task as quickly as possible. It’s also perfect in scenarios where you have to apply multiple coats in a single day or if you want to fill deep cracks or holes in the sheetrock in humid places. What is unique about this joint compound is that it sets due to chemical reaction and not evaporation. So you don’t need a dry environment for it to set which makes it ideal for damp areas. Similar to the topping compound, this one also comes in powder form and must be mixed with water. As it sets fast, you will have to apply it immediately after mixing.
How to cut and install tiles on a drywall?
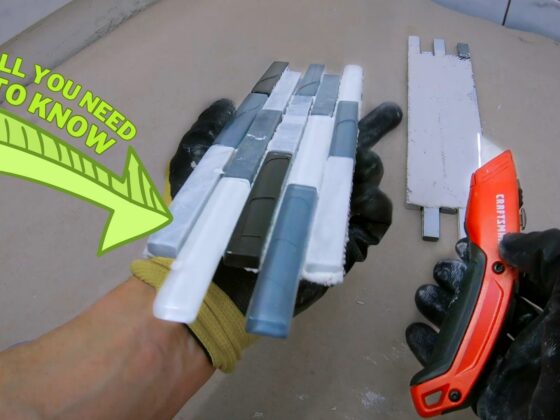
Sometimes when you are working on a backsplash in your kitchen, you might have to cut tiles while working on the drywall. In such a scenario, the task will get a bit more complicated as it will require you to use power tools and other pieces of equipment.
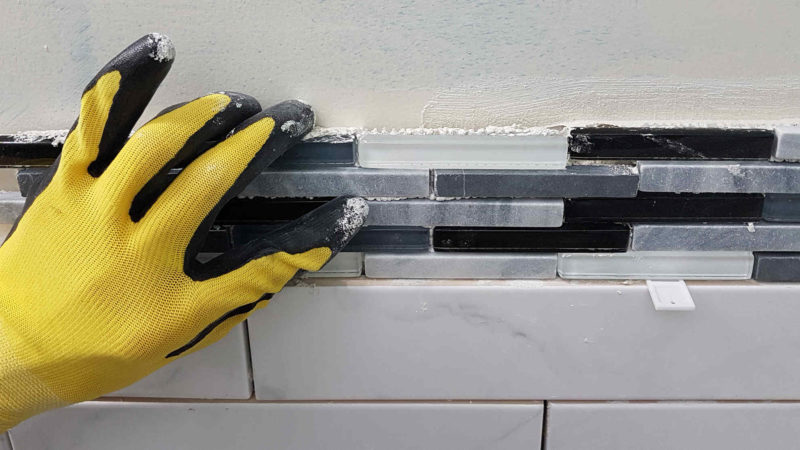
- First, you need to figure out the layout for the backsplash by using a level and a square. Draw the pattern you wish to create on the wall.
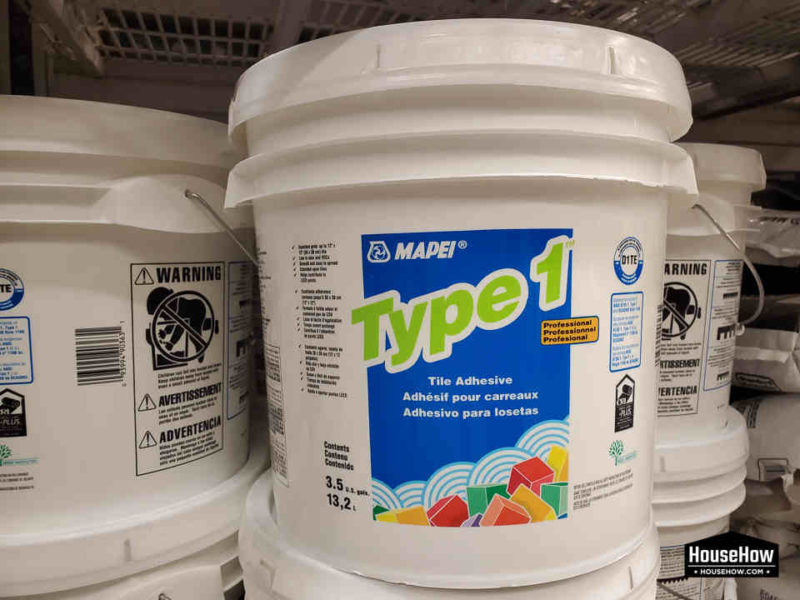
- Then you have to apply mastic to the surface of the drywall. You can use a V-notch trowel or a square one for the application. The type of trowel you should use will depend on the size and condition of the wall.
- Once the mastic is applied, press the tiles firmly onto the surface as per the pattern you are trying to create. If the tiles don’t have lugs on their edges, you might have to use tile spacers to prevent them from slipping out of place. This does require a fair amount of skill and experience though.
- Then remove any extra adhesive before it dries up. You can do this by using a margin trowel and a wet sponge.
- Now comes the cutting part. You can use a standard tile cutter or a rotary tool (with a diamond wheel accessory) to do the job. Make sure that your cuts are as straight as possible by slowly moving the cutting wheel in the desired direction. If any L-cuts are required for outlets or cabinet counters, you need to use a rotary tool.
- While you cut the tile, make sure that the waste sections fall away. If they don’t, you have to flip the tile and cut it from the back. After that, the only thing to do would be the cleanup work. You can use the rotary tool to clear out any burrs or tile pieces left over.
What are some of the tools and equipment useful for installing tiles on drywall?
Given below are some of the tools and equipment you will need for installing tiles on drywall. Practically the same tools are used for this purpose as for installing tiles elsewhere. Not all of them will be required in every scenario but everything below might come in handy eventually.
- Level
- Sponge
- Square
- Tile spacers
- Standard tile cutter
- Rotary tool
- Margin trowel
- Straightedge
- Buckets
If you do have to cut any tiles or use your power tools, make sure that you put on the protective eye gear as well as a high-quality mask.
Prepping the drywall before installing a tile backsplash
Installing a tile backsplash on drywall may not be very complicated but it will require you to do a little bit of prep work. When it comes to most applications where you have to install tiles over drywall, preparing the surface is one of the most vital tasks and will determine how smooth and effective the tiling process will be. Here are some of the key steps in doing the prep work when it comes to fresh drywall and an existing painted one.
Fresh drywall prep work
- The very first thing you need to do is check out the drywall to see if it’s in good shape and secured properly.
- Then you have to seal the seams on the new drywall using a joint compound and wait for it to dry. Once it is dry, sand the surface and remove any dust that gets produced. It’s ok at this point if there are any blemishes as the main priority is to make it as smooth as possible.
- Even if you vacuumed the dust in the earlier step, take a damp cloth and wipe the surface. Wait for the surface to dry properly.
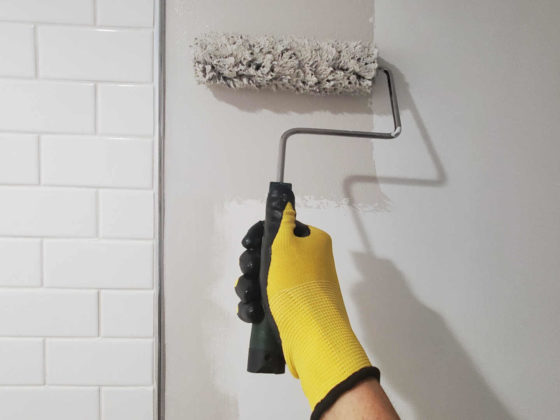
- Now you have to prime the surface and get it ready for tile installation. As a general rule, it’s always better to prime an area that is bigger than what you plan to cover with tiles.
Existing painted drywall prep work
- The first step here will be to remove any hardware, outlet covers and molding on the area you plan to tile.
- If the paint on the surface is peeling, make sure you scrape it away and make the surface as even and smooth as possible.
- Then get rid of any dust, oil, or grime on the surface with a good quality cleaning agent. Wait for the drywall to dry properly.
- Now you have to fix the drywall if it has any cracks or holes and sand the surface. Then vacuum the dust and wipe the drywall with a damp cloth before leaving it to dry.
- Once the surface is clean and dry, prime the area and seal it.
You can now start installing the tiles. Do remember to start tiling from the middle of the area you plan to work on. This is done to make sure that it will look uniform in the end and to provide a better reference for you as you install tiles one after the other. Also, make sure that you use a level to make sure there are no uneven areas. If your house is old and has an uneven surface, then you may want to go for tile mosaic or random patterns to visually solve the problem.
Do you need to repair drywall before tiling?
Drywall is pretty delicate and it’s only natural if you find it to be damaged while trying to retile the area. While you don’t need to reinstall the drywall, you do have to prep it which will involve some repair work. If the drywall has holes in it, you need to patch them properly first. If the holes are very big, then you might need to buy more drywall. If they are not too big, you can use a drywall repair adhesive patch. Once the holes are fixed, you can then proceed to fill any cracks with drywall mud by applying it as smoothly as possible. Once that is done, you can work on prepping the surface for tiling.
Using thinset on drywall
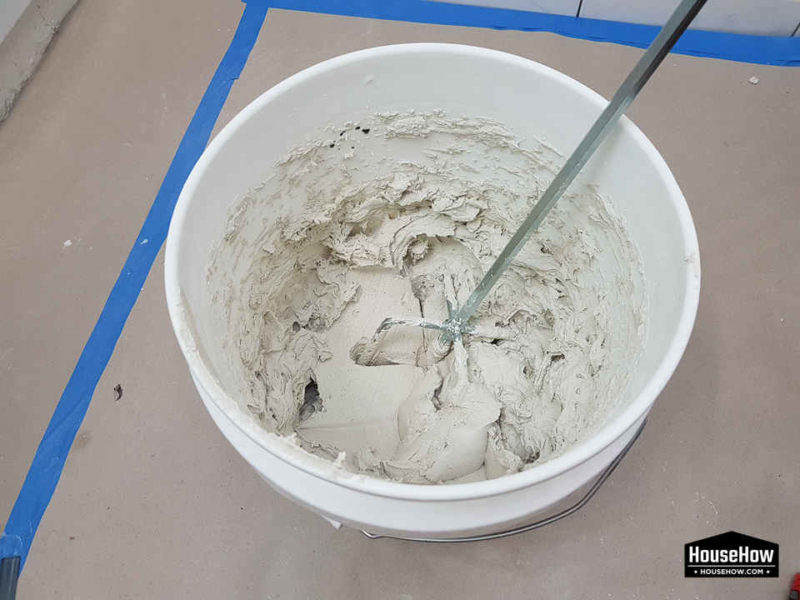
Thinset mortar helps to lay a bed for tile placement. It is also ideal for use on drywalls; however, the surface has to be propped properly before usage. It’s also important to note that thinset only comes in either white or grey. So make sure you choose the one that best suits the grout you plan to use for the tile. For light grouts, the white thinset would be a better choice whereas a dark grout will go better with a gray thinset.
Although it is made out of cement, aggregates, additive materials and water, there are only two types of thinset mortar. One is pre-mixed whereas the other comes in dry powder form. The former is easier to use but is more expensive. Hence, it’s ideal for use if the area you are working on isn’t very big. The powder one requires you to use a special mixing tool but is good to use on larger surfaces.
Cement backer boards and tiling damp areas
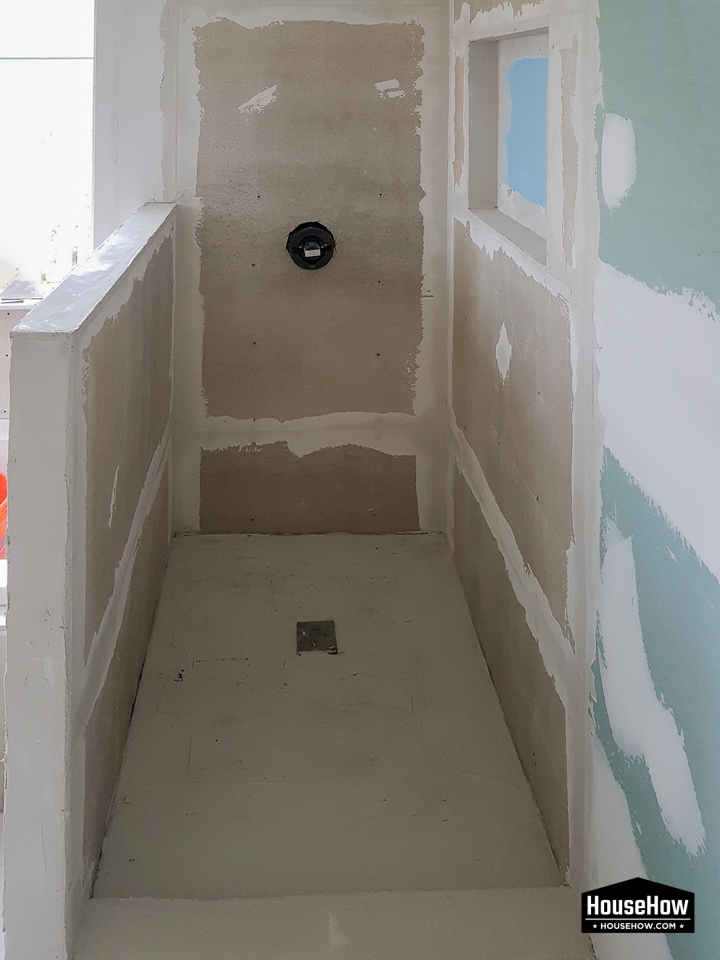
Though there is moisture-resistant drywall available for use today, it is not recommended to use it in damp areas. Here is where cement backer boards come in. They do not rot, warp or deteriorate over time in damp or wet areas making them ideal for use as a tile base in bathrooms and showers. To install cement backer boards you need to:
- Cut it if necessary especially if there are any obstructions in the way.
- Apply thinset mortar on the surface and use a trowel to comb it out.
- Make sure that the boards are a quarter of an inch apart from one another.
- Then press the boards firmly into the mortar and screw them in.
- Then you can use a fiberglass seam tape to cover the seams and you will be good to go.
Related questions
What are some of the common places where one can install tiles on drywall?
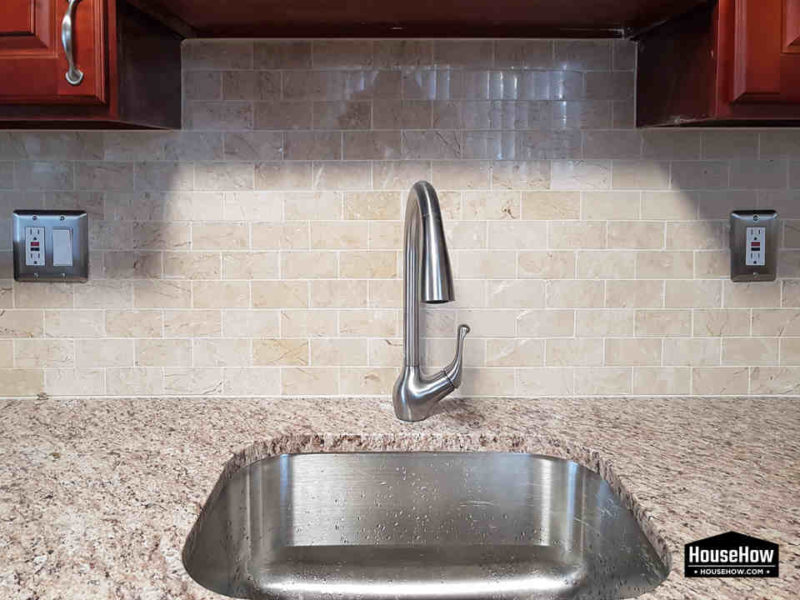
Tiling over drywall is a relatively smoother process when it comes to areas that have less moisture such as a fireplace or the kitchen backsplash. You might be wondering how a kitchen backsplash area will be less prone to moisture. While the issue certainly existed a long time ago, today with under-counter dishwashing machines, the sink area remains relatively dry most of the time. In areas where moisture is consistently found such as the walls in a shower, it would be wiser to not install tiles over drywall even if the drywall is moisture resistant.
Can you lay a tile on greenboard?
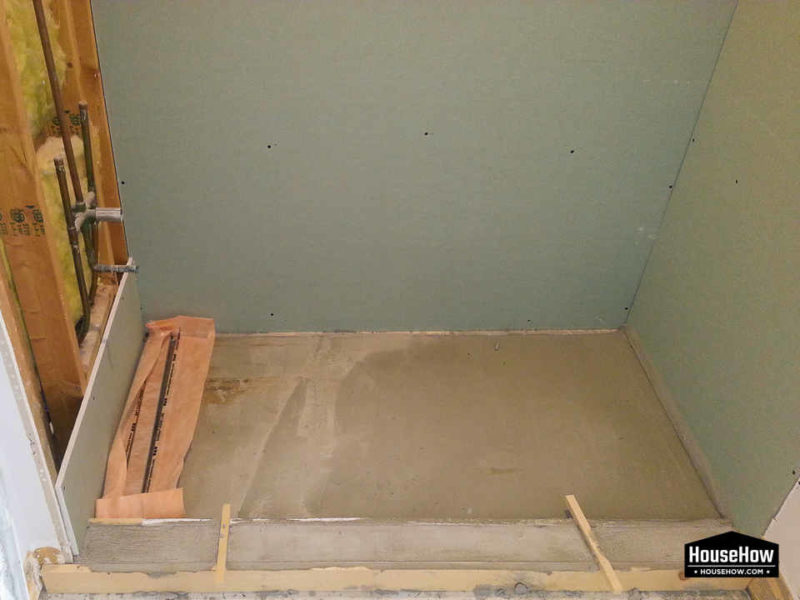
Greenboard is a type of drywall that is moisture resistant. It does have better resistance to moisture in the air than other forms of drywall but it is by no means waterproof. Therefore, it shouldn’t be used in areas that are consistently wet or damp such as shower stalls. Even though greenboard has a waxy texture to it, it is possible to lay a tile on it but it will be a little difficult. One way to do so is to coat it with a flat sealing primer first and let it dry for about 24 hours before installing the tiles.
What is the best adhesive for laying tiles on drywall?
Thinset mortar is one of the most common adhesives used to install tiles on drywall but it isn’t the only option out there. Another adhesive you can use is mastic. The type of adhesive to be used will also depend sometimes on the tile you are planning to install. Mortar can be used on most tiles but for ceramic tiles, mastic might be a better choice. This is also the case when it comes to certain porcelain tiles. Mastic has great holding strength, sets quickly and is very easy to apply too. However, it won’t work well with most tiles as mortar does. So while there isn’t a specific best adhesive for tiling, mortar is the most widely used one.

