HOUSEHOW.COM
  • How To’s
  • Dilemmas
  • Everything About
  • Miscellaneous
  • How To’s
    • Bathroom
    • Basement
    • Kitchen
  • Dilemmas
  • Everything About
  • Crafts
    • Carpentry
    • Electrical
    • Painting
    • Plumbing
    • Tiling
  • Workplaces
    • Basement
    • Bathroom
    • Kitchen
  • Resources
    • Recommended Appliances
    • Recommended Materials
    • Recommended Tools
  • Community
  • Register
  • Log In
Subscribe
HOUSEHOW.COM
HOUSEHOW.COM
  • How To’s
    • Bathroom
    • Basement
    • Kitchen
  • Dilemmas
  • Everything About
  • Crafts
    • Carpentry
    • Electrical
    • Painting
    • Plumbing
    • Tiling
  • Workplaces
    • Basement
    • Bathroom
    • Kitchen
  • Resources
    • Recommended Appliances
    • Recommended Materials
    • Recommended Tools
  • Community
  • Bathroom
  • Bathroom
  • How To’s
  • Tiling

How to Protect a Bathtub with Cardboard – Step by Step

  • MIKE GABLER
  • September 13, 2020
  • 6 minute read
How to Protect a Bathtub During Construction © HouseHow.com
Share
Share
Share
Share

Protecting the Bathtub with Cardboard

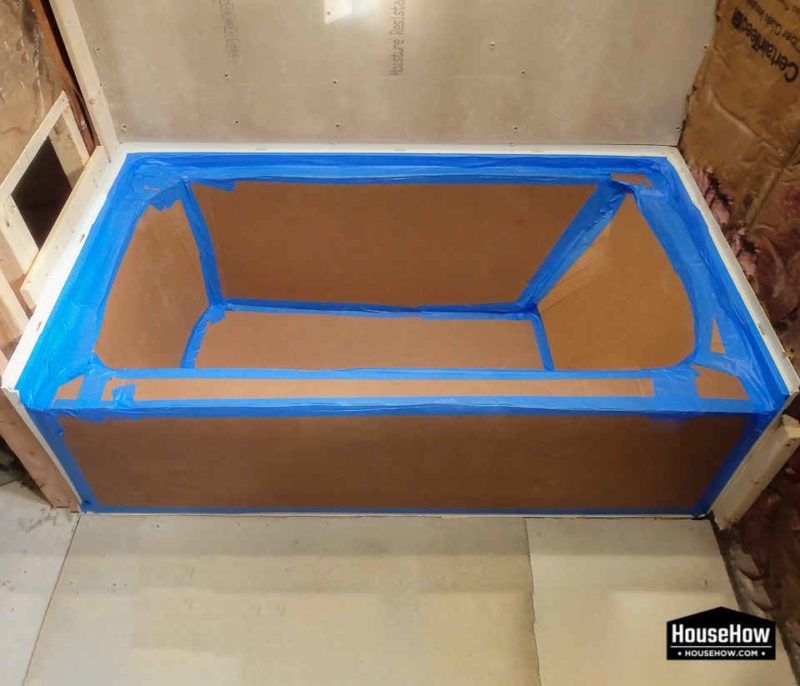
The best and cheapest, but at the same time the most time-consuming way to protect a bathtub is to use the cardboard in which the bathtub was delivered. Below is a description of how to do this.
post 000006 08

Total Time Needed :

30

Minutes

Total Cost:

$8

USD

Required Tools:

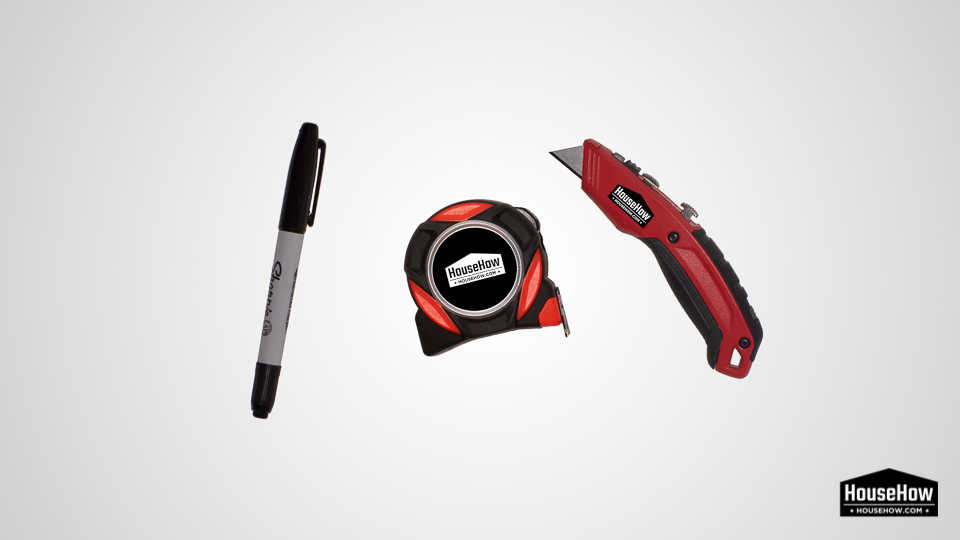
– Marker
– Tape Measure
– Utility Knife


Things Needed?

– ScotchBlue Painter’s Tape 1.41in or wider
– Plywood Panel 11/32 in. x 8ft. x 4ft. or similar 
– R-3 Rigid Foam Board Insulation Sheathing 1/2 in. x 4 ft. x 8 ft.


Steps to protecting the bathtub with cardboard:


Step 1 – Get the tools ready

post 000006 01

The first step is to prepare the necessary tools to perform this task. Here’s a list of the tools you will need.

Step 2 – Get all the necessary materials

post 000006 02

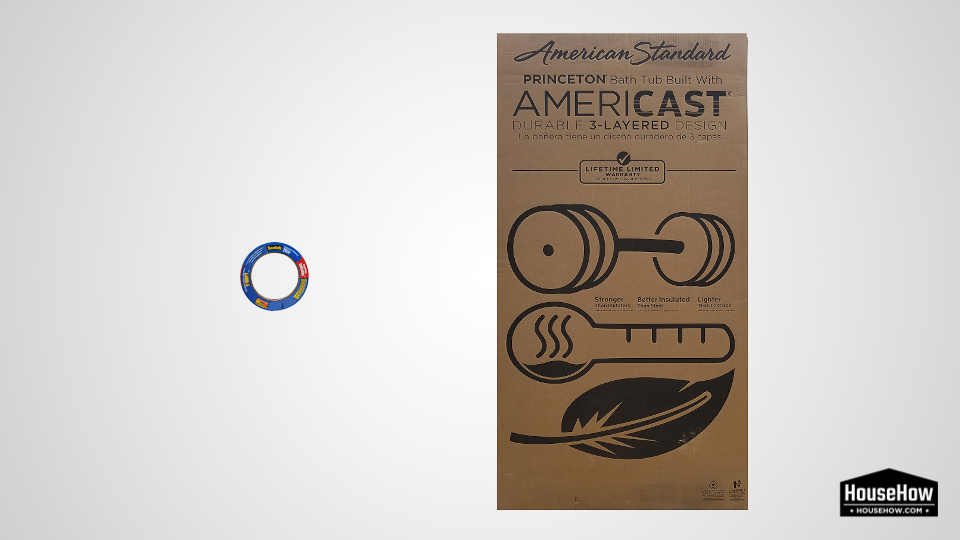
Also prepare a masking tape and a cardboard box from which you pulled out the bath tubs. If you do not have a cardboard box in which the bathtub has been delivered, use any cardboard box that you have at hand.

Step 3 – Secure the front of the tub

post 000006 03

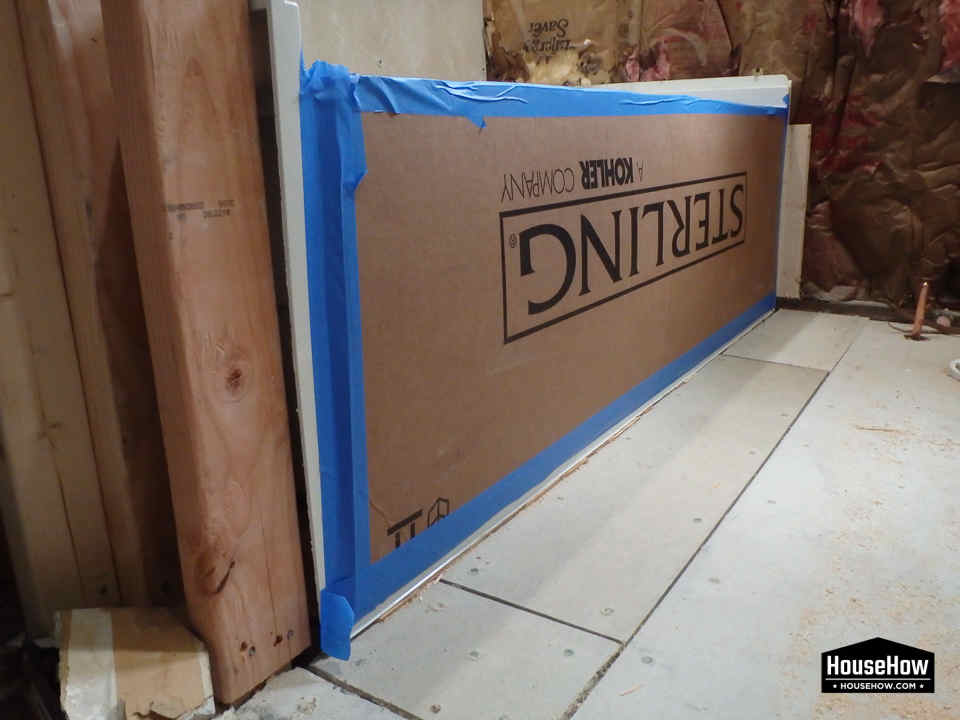
Prepare the cardboard box in which the bathtub has been delivered in and cut the carton shape of the front of the tub. So that it overlaps the upper part (the one on which you can sit) so as to secure its corner. Then glue it with a painter masking tape to the bathtub surfaces. Remember not to stick the tape to the edge of the bathtub, leave about 3/8 “uncovered space. This place is the place where the tiles meet.

Step 4 – Secure the top of the tub

post 000006 04

Also attach the upper edge to the bathtub. Thanks to this treatment, our protection will not slip when you sit on it.

Step 5 – Secure the bottom of the bathtub

post 000006 05

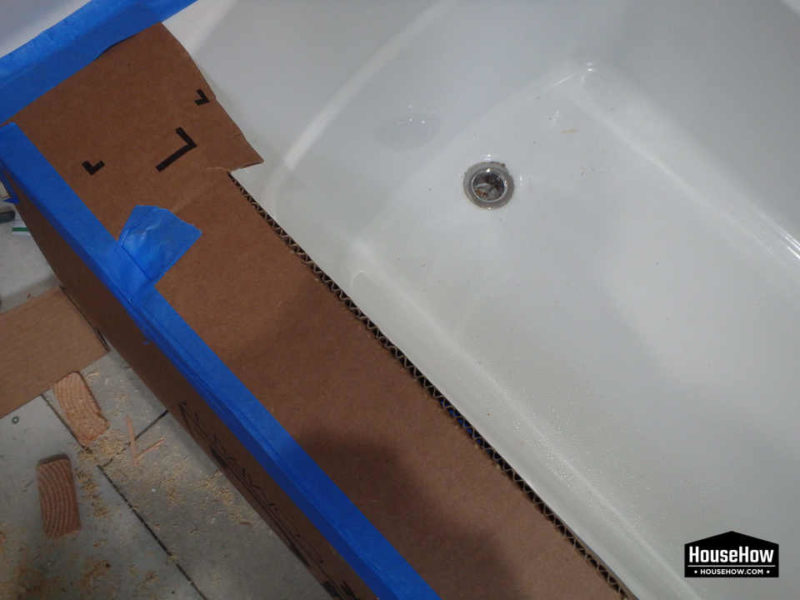
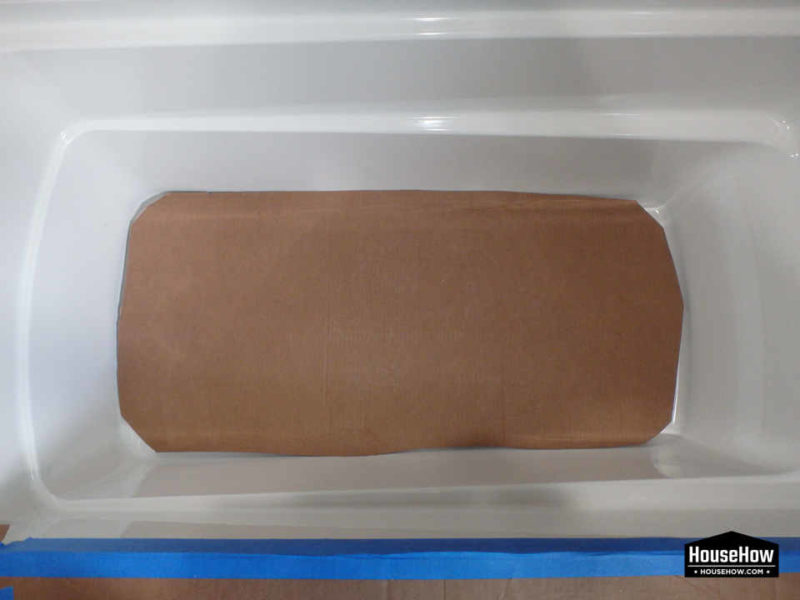
Find the printed shape of the bottom of the tub on the bathtub carton and cut it according to the shape. If you are afraid of destroying the bathtub, cut the second piece of cardboard of the same shape and drop these cut cardboard boxes into the bathtub.

Step 6 – Tape the bottom protection

post 000006 06

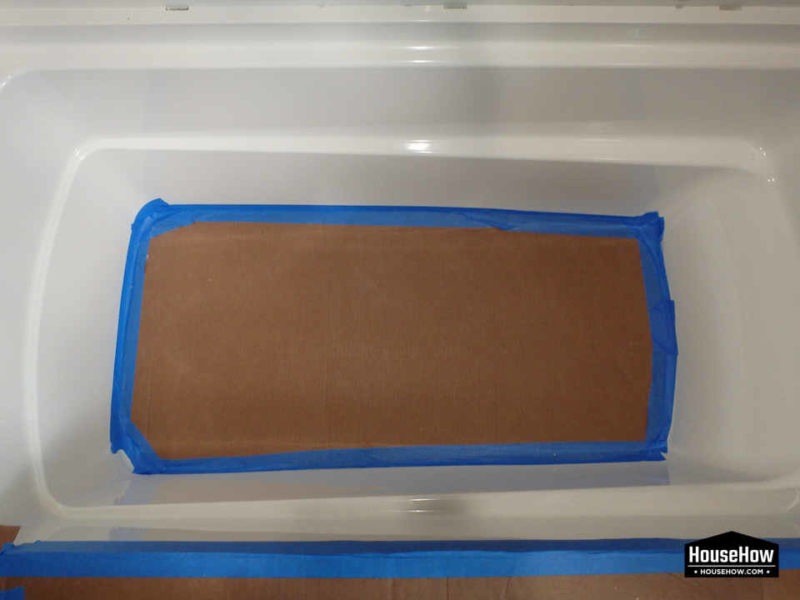
Cover this piece of cardboard carefully using masking tape. It will last you at least a few days. The better you do it the longer it will stay in its place.

Step 7 – Secure the first side wall of the bathtub

post 000006 07

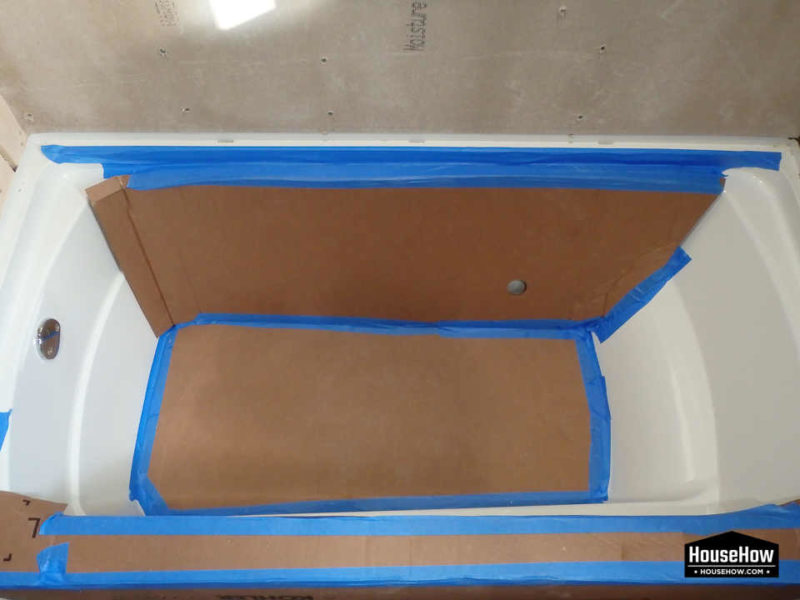
Cut the piece of cardboard correspondingly to the size of each bathtub wall so that it overlaps the top edge of the bathtub. Cut the cardboard on the edge to make it easier to bend.Then glue it on the top and bottom so that you can connect the bottom piece of the cardboard with the one assembled.

Step 8 – Secure the sides of the bathtub

post 000006 08

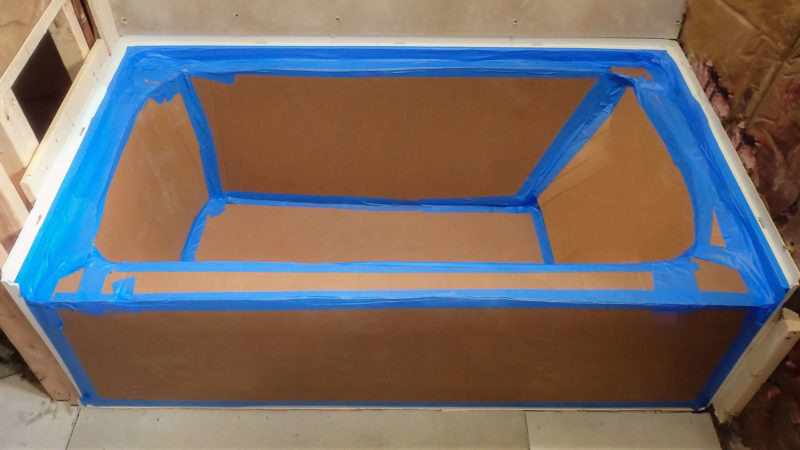
Next, cover each internal wall of the bathtub with cardboard in order to completely cover its surface. Make sure there is no place where tile mortar or grout can get under security.

Step 9 – Disassembling the protection when it is no longer needed

How to dismantle the protection when it is no longer needed © HouseHow.com

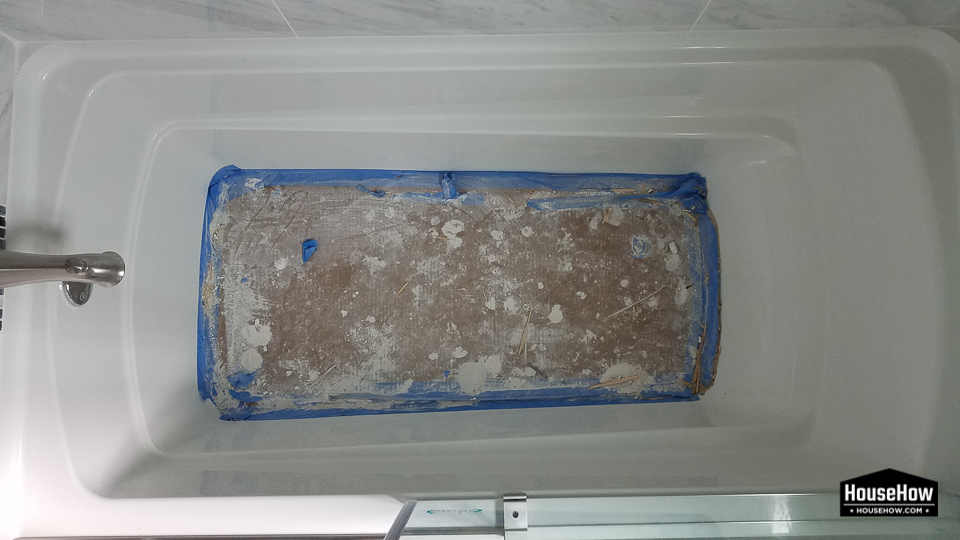
To dismantle our protection it is best not to use tools but only your bare hands. If we start using a knife, we will risk scratching or wounding the bathtub during this procedure.
If we have completed the entire procedure as described above, we should firstly dismantle the protection of the bathtub’s internal walls and then the cardboard from the front part. At the bottom of the tub there should remain a piece of cardboard, on which we can walk while finishing works. Finally we can remove this last piece after finishing all the construction works in the bathroom.

Related community topics

If you have any other questions that are not answered in this article, you can ask them on our Home Improvement Community Forum by clicking on this link.

Share
Share
Share
Related Topics
  • Bathroom
  • Bathtub
MIKE GABLER

Previous Article
Everything You Need to Know About Pressure Treated Lumber © HouseHow.com
  • Everything About
  • Carpentry

Everything You Need to Know About Pressure Treated Lumber

  • MIKE GABLER
  • September 12, 2020
View Post
Next Article
Is PEX Tubing Safe © HouseHow.com
  • Plumbing
  • Bathroom
  • Dilemmas
  • Kitchen

Is PEX Tubing Safe?

  • MIKE GABLER
  • September 14, 2020
View Post
You May Also Like
Do You Cut in First When Painting?
View Post
  • 9 min

Do You Cut in First When Painting?

How to Unclog a Toilet with Poop in It?
View Post
  • 6 min

How to Unclog a Toilet with Poop in It?

How Many Years Should a Toilet Last?
View Post
  • 6 min

How Many Years Should a Toilet Last?

Everything You Need to Know About Phantom or Ghost Flushing Toilet?
View Post
  • 11 min

Everything You Need to Know About Phantom or Ghost Flushing Toilet?

Does Backsplash Tile Go On Drywall?
View Post
  • 5 min

Does Backsplash Tile Go On Drywall?

Leave a Reply Cancel reply

You must be logged in to post a comment.

Sign Up For Our Newsletter

Get even more information on your email

  • How To’s
    • Bathroom
    • Basement
    • Kitchen
  • Dilemmas
  • Everything About
  • Crafts
    • Carpentry
    • Electrical
    • Painting
    • Plumbing
    • Tiling
  • Workplaces
    • Basement
    • Bathroom
    • Kitchen
  • Resources
    • Recommended Appliances
    • Recommended Materials
    • Recommended Tools
  • Community
Trending
  • What is the Difference Between Green and Blue Lid Drywall Joint Compound © HouseHow.com 1
    What is the Difference Between Green and Blue Lid Drywall Joint Compound?
    • MIKE GABLER
    • 5 min
  • How Long After Installing a Toilet Can You Use It © HouseHow.com 2
    How Long After Installing a Toilet Can You Use It?
    • MIKE GABLER
    • 5 min
  • Everything You Need to Know About Bathroom Ceiling Painting 3
    Everything You Need to Know About Bathroom Ceiling Painting
    • MIKE GABLER
    • 13 min
  • Do Property Taxes Go Up When You Finish a Basement? 4
    Do Property Taxes Go Up When You Finish a Basement?
    • MIKE GABLER
    • 8 min
  • Is Sleeping In Basement Bad for Health 5
    Is Sleeping In Basement Bad for Health?
    • MIKE GABLER
    • 7 min
HOUSEHOW.COM
  • Community
  • Privacy Policy
  • Terms of Use

Input your search keywords and press Enter.